Keeping It Fresh
-
Refrigerate up to 3 days
-
Freeze up to 1 month in provided freezer ziplock bag.
-
Gluten Free Take-n-Bakes should be kept frozen. They tend to dry out in the refrigerator. They must be handled with care, as they are DELICATE.
-
Take-n-Bakes with fresh vegetables/fruit/herbs will most likely change color or dry out if you choose to freeze them. They will STILL taste yummy.
-
Defrost in the fridge overnight or 10-20 minutes room temperature, single layer.
-
DO NOT freeze, thaw and refreeze, otherwise the quality of ingredients will be compromised.
-
Refrigerate up to 3-5 days
-
If you plan to eat only 1-2 pizzas within the week that you received the kit, then take out the amount you need, and store the rest in the freezer.
-
Freeze up to 3 months.
-
Gluten Free Pizza Kits should be kept frozen. They tend to dry out in the refrigerator. They must be handled with care, as they are DELICATE.
-
Defrost in the fridge overnight
-
DO NOT freeze, thaw and refreeze, otherwise the quality of ingredients will be compromised.
-
Refrigerate up to 3-5 days
-
If you plan to eat only 1-2 pizzas within the week that you received the kit, then take out the amount you need, and store the rest in the freezer.
-
Flatbread crusts can be separated with wax paper, parchment paper or separate ziplock bags BEFORE freezing, otherwise they will freeze STUCK together. (If this happens, the only way to separate is to thaw it out entirely.) Take these steps only if you want to take out small amounts periodically.
-
Freeze up to 4 months.
-
Gluten Free crusts should be kept frozen. They tend to dry out in the refrigerator. They must be handled with care, as they are DELICATE.
-
Defrost in the fridge overnight
-
DO NOT freeze, thaw and refreeze, otherwise the quality of ingredients will be compromised.
DOUGH BALLS
-
Kept in freezer up to 4 months.
-
Defrost overnight in fridge.
-
Room temp 4-6 hours prior to hand stretching/ rolling out.
Scroll down for stretching & baking instructions,
TAKE-n-BAKE PIZZAS
PIZZA KITS
FLATBREAD CRUSTS
How to Bake
Applies to all products except dough balls
For Grandma style pan pizza Specials ONLY
-
Take out of refridgerator 10 min prior to baking.
-
Preheat oven 475 degrees.
-
Place Grandma pizza on a lined sheet pan. Place on middle rack.
-
Check at 8-10 minutes. Cheese melted. Crust edges & bottom crispy.
-
We suggest slicing in quarters (squares) then slice each quarter in halves or thirds (strips/stick).
For Flatbread Pizzas see all methods BELOW
Oven with Pizza Stone (Preferred method)
Using a pizza stone is a GAME CHANGER, as it ensures a consistently CRISPY crust and reduces baking time. We like this one. See How to Use Pizza Stone tutorial video below.
-
Position oven rack to the lowest level in the oven.
-
Position pizza stone onto center of the oven rack. We suggest simply storing your stone on the rack in your oven!
-
Preheat oven at 500-525 degrees for 45-60 minutes. The longer you PREHEAT, the better! (NEVER put a cold pizza stone into a hot oven! The stone will break!)
-
Place pizza onto a lightly floured cutting board, upside down baking sheet pan, or pizza peel- we like this wooden one. Or this metal slotted one.
-
Bring cutting board/ pizza peel to oven. Use spatula -we like this one, to transfer flatbread from cutting board/peel onto the preheated pizza stone.
-
Check at 3 minutes. Bake until toppings are hot, cheese is melted and bottom of the crust is CRISPY and light-medium brown. (Baking time will vary depending on oven.) Typically ready at 4 minutes.
-
Take n Bake pizzas are already seasoned. If you’re making your own pizzas with our Flatbread Crusts/ Pizza Kits, we suggest garnish with salt and black pepper.
-
For Take-n-Bake pizzas, the garnishes & reductions should be added on AFTER the pizza is baked.
-
Cutting/Slicing: Cut down the middle lengthwise, then cut each half into thirds. You'll get 6 slices.
Oven with Pizza Pan (2nd best method)
Using a pizza pan is better than just a baking sheet pan. We like this one
-
Follow instructions below for Oven or Toaster Oven. You do NOT need to line the pizza pan.
Oven or Toaster Oven (Most common)
-
Position oven rack to the MIDDLE level in the oven.
-
Preheat oven at 475-525 degrees for 45 minutes. The HOTTER the better!!
-
Put pizza onto a lined baking/cookie sheet pan. (Line parchment paper)
-
Put sheet pan onto center of the middle baking rack, in the preheated oven.
-
Check at 3 minutes. To ensure even cooking, rotate pan completely at the halfway mark. Bake until toppings are hot, cheese is melted and bottom of the crust is CRISPY and light-medium brown. (Baking time will vary depending on oven. Typically anywhere from 4-10 minutes)
-
Take n Bake pizzas are already seasoned. If you’re making your own pizzas with our Flatbread Crusts/ Pizza Kits, we suggest garnish with salt and black pepper.
-
For Take-n-Bake pizzas, the garnishes & reductions should be added on AFTER the pizza is baked.
-
Cutting/Slicing: Cut down the middle lengthwise, then cut each half into thirds. You'll get 6 slices.
Stove Top w/ Frying Pan
The Queen uses this method often. It's the quickest and easiest when making 1-2 pizzas, BUT
the downside is that this method will not caramelize/brown the toppings the way an oven does.
-
Heat 12" or larger Fry pan on medium heat with lid on for 5 minutes.
-
Put pizza into dry pan. Put lid on.
-
Check bottom of pizza at 3 minutes. Cook until toppings are hot, cheese is melted and bottom of the crust is CRISPY and light-medium brown. Typically ready at 4 minutes.
-
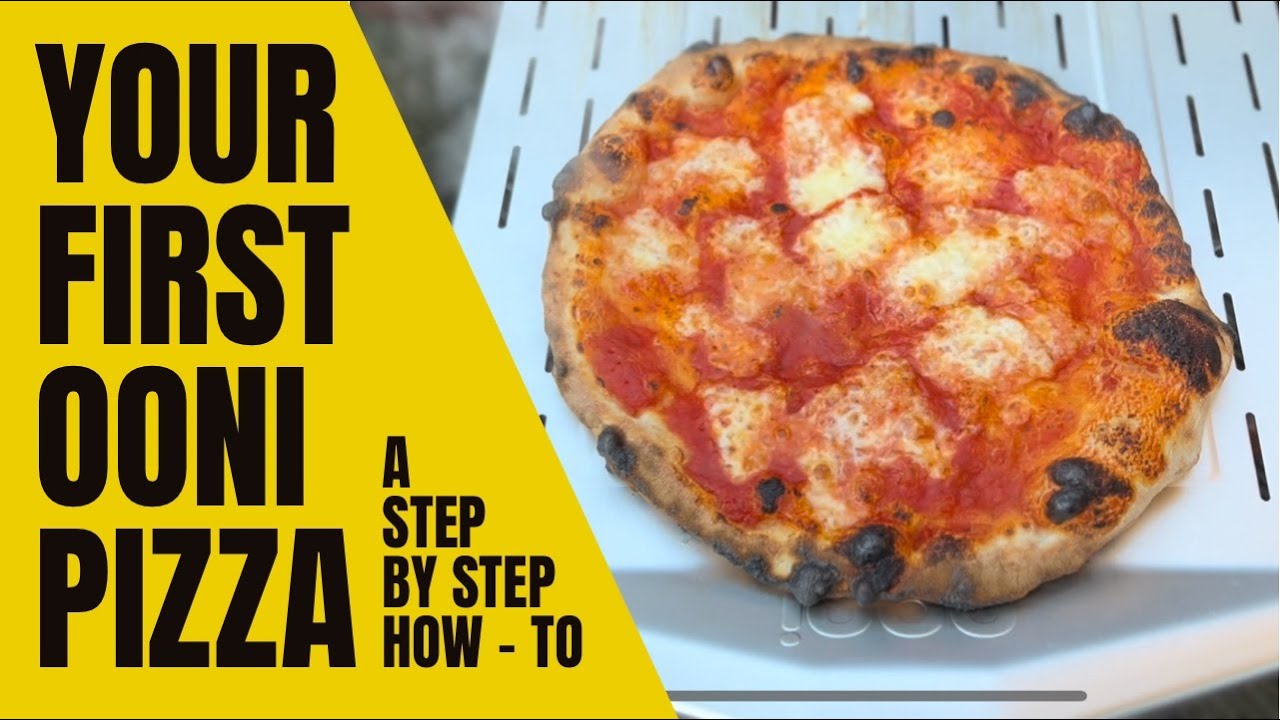
Pizza Oven
Whether you have an Ooni, Gozney, Camp Chef, Breville, wood fired or anything in between, you need to know that our partially baked flatbread pizzas cook FASTER than raw pizza dough.
-
Ultimately, you want oven to be at 500-600 degrees, otherwise you risk burning. Always take the temp of your oven stone with an infrared thermometer. We like this one.
-
For Ooni: Turn on HIGH for 20 min. then down to low.
-
You need to be moving the pizza every 10-15 seconds.
-
For Take-n-Bake pizzas, the garnishes & reductions should be added on AFTER the pizza is baked.
-
Cutting/Slicing: Cut down the middle lengthwise, then cut each half into thirds. You'll get 6 slices.
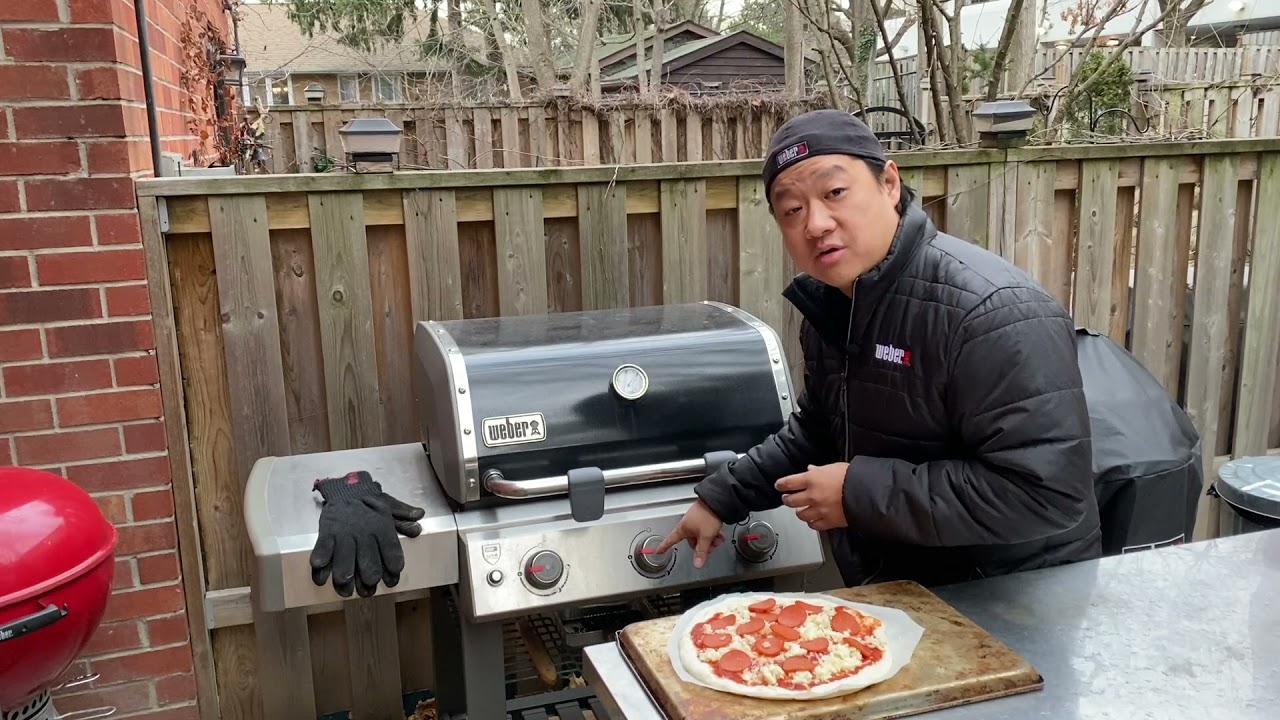
BBQ Grill
-
You can use a pizza stone on the grill or put the pizza directly on the grill.
-
Preheat COVERED grill on high heat for 30 minutes. Ultimately, you want it to be 500-525 degrees, like an OVEN!
-
Place pizza onto a cutting board/ pizza peel. This will help your pizza slide off onto the the grill or stone.
-
Bring cutting board/ pizza peel to the grill. Use offset spatula to transfer flatbread from cutting board onto preheated grill.
-
Check at 2 minutes. Bake until toppings are hot, cheese is melted and bottom of the crust is CRISPY and light-medium brown. (Baking time will vary depending on oven.)
-
Take n Bake pizzas are already seasoned. If you’re making your own pizzas with our Flatbread Crusts/ Pizza Kits, we suggest garnish with salt and black pepper
-
For Take-n-Bake pizzas, the garnishes & reductions should be added on AFTER the pizza is baked.
-
Cutting/Slicing: Cut down the middle lengthwise, then cut each half into thirds. You'll get 6 slices.
How to Assemble Pizzas
Applies to Pizza Kits, Crusts & Dough Balls
Assembling Pizza Kits & Flatbread Crusts
-
Prepare STONE/ OVEN/ GRLL as directed below.
-
Spread approximately 1 tsp. olive oil onto crust with back of spoon/ brush.
-
1 Tbsp Sauce- spread sauce evenly. Leave about 1/4" margin or less around the edges.
-
1 tsp. Parmesan cheese- sprinkle evenly before baking or after baking
-
Add desired veggie or meat toppings. Pepperoni always goes on LAST.
-
Season with salt & pepper.
-
Bake as directed below.
Dairy Free Pizza Kit
-
Spread sauce as directed above.
-
Cashew Ricotta: Use a teaspoon and dollop 6 slightly heaping spoonfuls EVENLY onto pizza. We suggest 3 rows of 2 per pizza.
-
Lightly sprinkle grated vegan mozzarella cheese
-
Add desired veggie or meat toppings. Pepperoni always goes on LAST.
-
Bake as directed above. See How to Bake.
Putting an Egg on Top
-
Do NOT use convection! Bake according to directions listed above.
-
Make a divot in the middle of the pizza. It’s best if the egg sits directly on top of the crust (as a single layer) and not on top of other toppings.
-
Egg usually cooks within 4 minutes.
-
When pizza is done & egg is cooked sunny side up, BUST open the egg, with a spoon, and drizzle/smear the yolk all over the pizza!
-
Season the egg with salt, black pepper. Sliced green onions or chives (optional). The hot sauce that we sell in our online store compliments the egg perfectly!
-
If the egg is not cooked, but the crust & toppings are done, take the pizza out of the oven and BUST and smear the egg all over the pizza, and put back in the oven for 30-60 seconds.
How to use Dough Balls
1 Day Before Pizza Making
-
Place dough in lightly oiled bowl/container and cover. Defrost overnight in the refrigerator.
Pizza Making Day
-
Allow dough to reach room temperature. May take 2-6 hours before making pizzas, depending on kitchen temperature. If kitchen is 67 degrees it will take 4-6 hours.
-
Poke Test: To determine if the dough is ready to bake, poke it with your index finger. If it springs back slowly and leaves a slight indentation, it's ready! If it springs back quickly leaving no indentation, it's not ready yet.
-
Using Pizza Stone/Steel: At least 1 hour before baking, preheat your oven. If you're using a home oven, turn on the broiler for 10 minutes after the 1 hour preheat, to get that stone SUPER HOT! Don't forget to turn it back to 500 degrees.
-
Using Pizza Ovens- try baking your pizzas no hotter than 700-725.
-
Stretching: Watch this Stretching Ooni video and this Stretching Building & Launching video. We suggest "Steering Wheel & Parachute" methods of stretching.
-
Assembling/ Building: Semolina flour or Polenta/ Corn Meal onto pizza peel. Try not to use more than 3 toppings and try not to overload, otherwise you your Launch into the oven might be compromised.
-
Launching: Watch this Launching Ooni video.
Pizza Making Resources
The Queen is more than happy to help you with your pizza making skills.
If you have any questions about the products, instructions, technique, tools, pizza ovens etc. Please do not hesitate to reach out to Kellie directly. Consider her your Pizza Fairy Godmother.
TOOLS
-
Wood Pizza Peel- getting the pizza into the oven
PIZZA OVENS
Chef Kellie owns all these brands of ovens, so she can assist if you're interested in a "test drive" or want more info.